-40%
Stick On Bumper Rear Protector for City Parking, Car Bumper Guard Strip.
$ 21.11
- Description
- Size Guide
Description
Welcome to OurBumper Barrier
Menu
Store Home
FEEDBACK
ADD TO FAVORITES
CONTACT US
Fast Shipping
AUTHENTICITY GUARANTEED
30 Day Returns
Best Price
Car Bumper Protection FILM, Rear Bumper Guard, Anti Collision Strip Film
Product Description
Ebay Revised
Video will open in a new window
Out of Sight Peace Of Mind!
Are you tired and disgusted of seeing new scratches appear daily on your rear car bumper?
Driving in
many local neighborhoods
in
New York City
and similar areas
around the country
ha
ve
become similar to combat resulting in countless bumper battle scars.
Expensive car bumper damage from
street
parking
is
especially
felt
by the
t
axi drivers, new car owners, and normal drivers
who mu
st
park on
crowded city
street
s
.
Using o
ur product will
protect your bumper
from daily impacts
due to
city street parking while preserving the look and feel of your car.
Key D
etails:
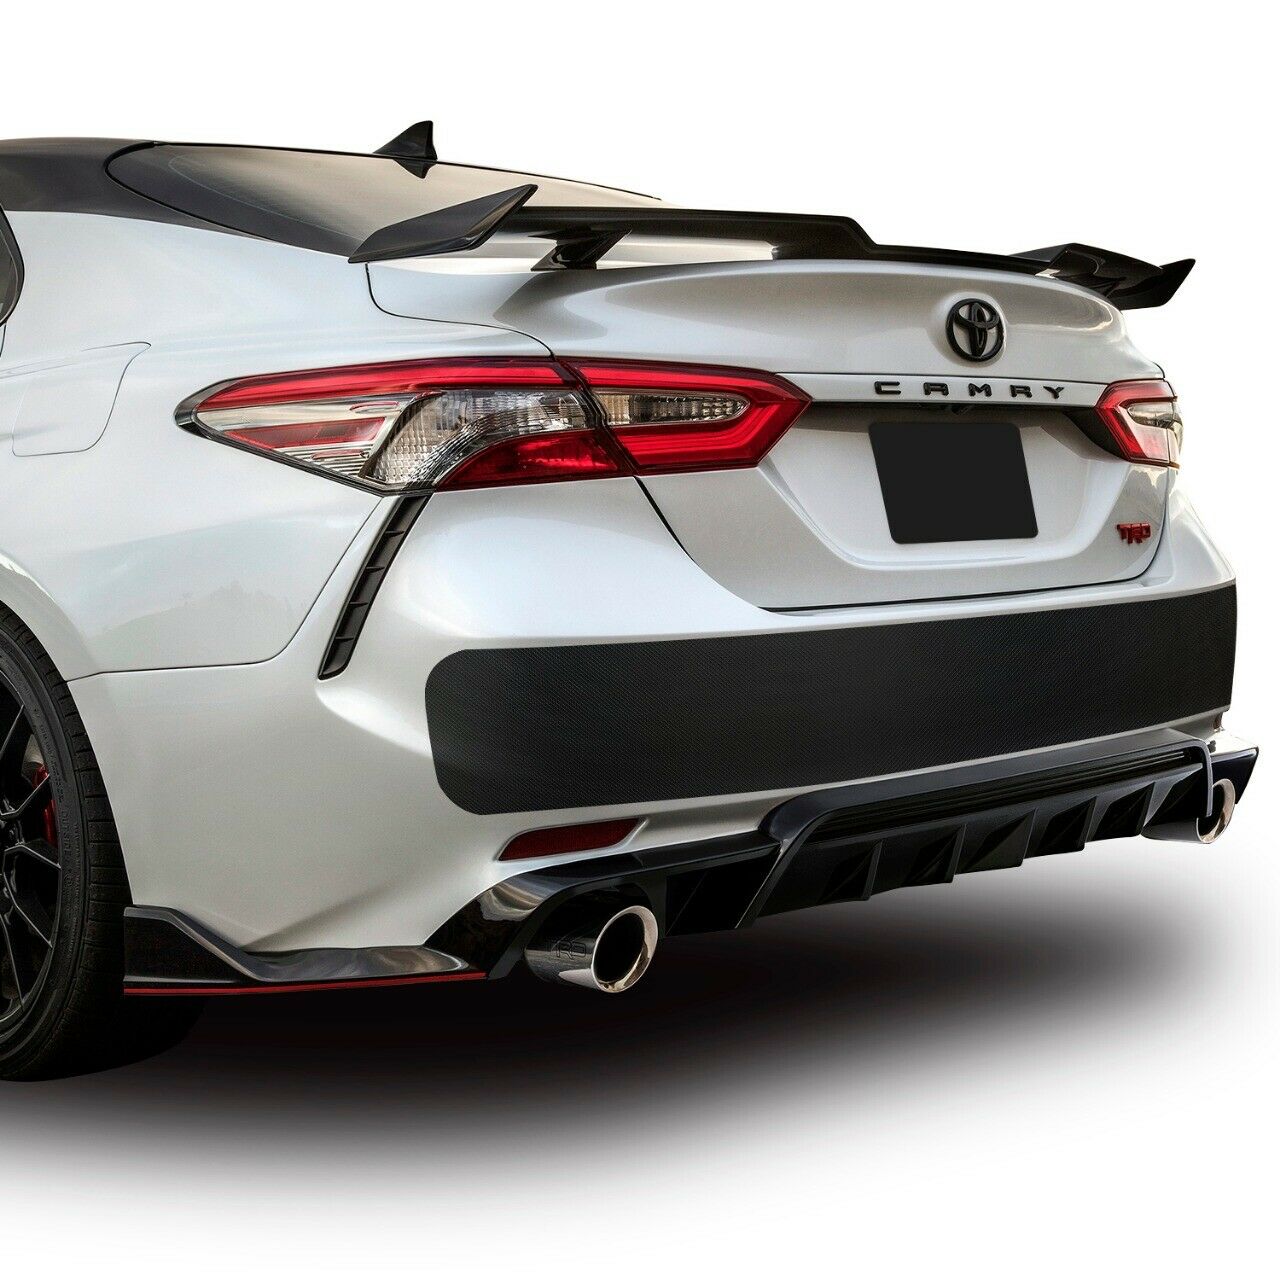
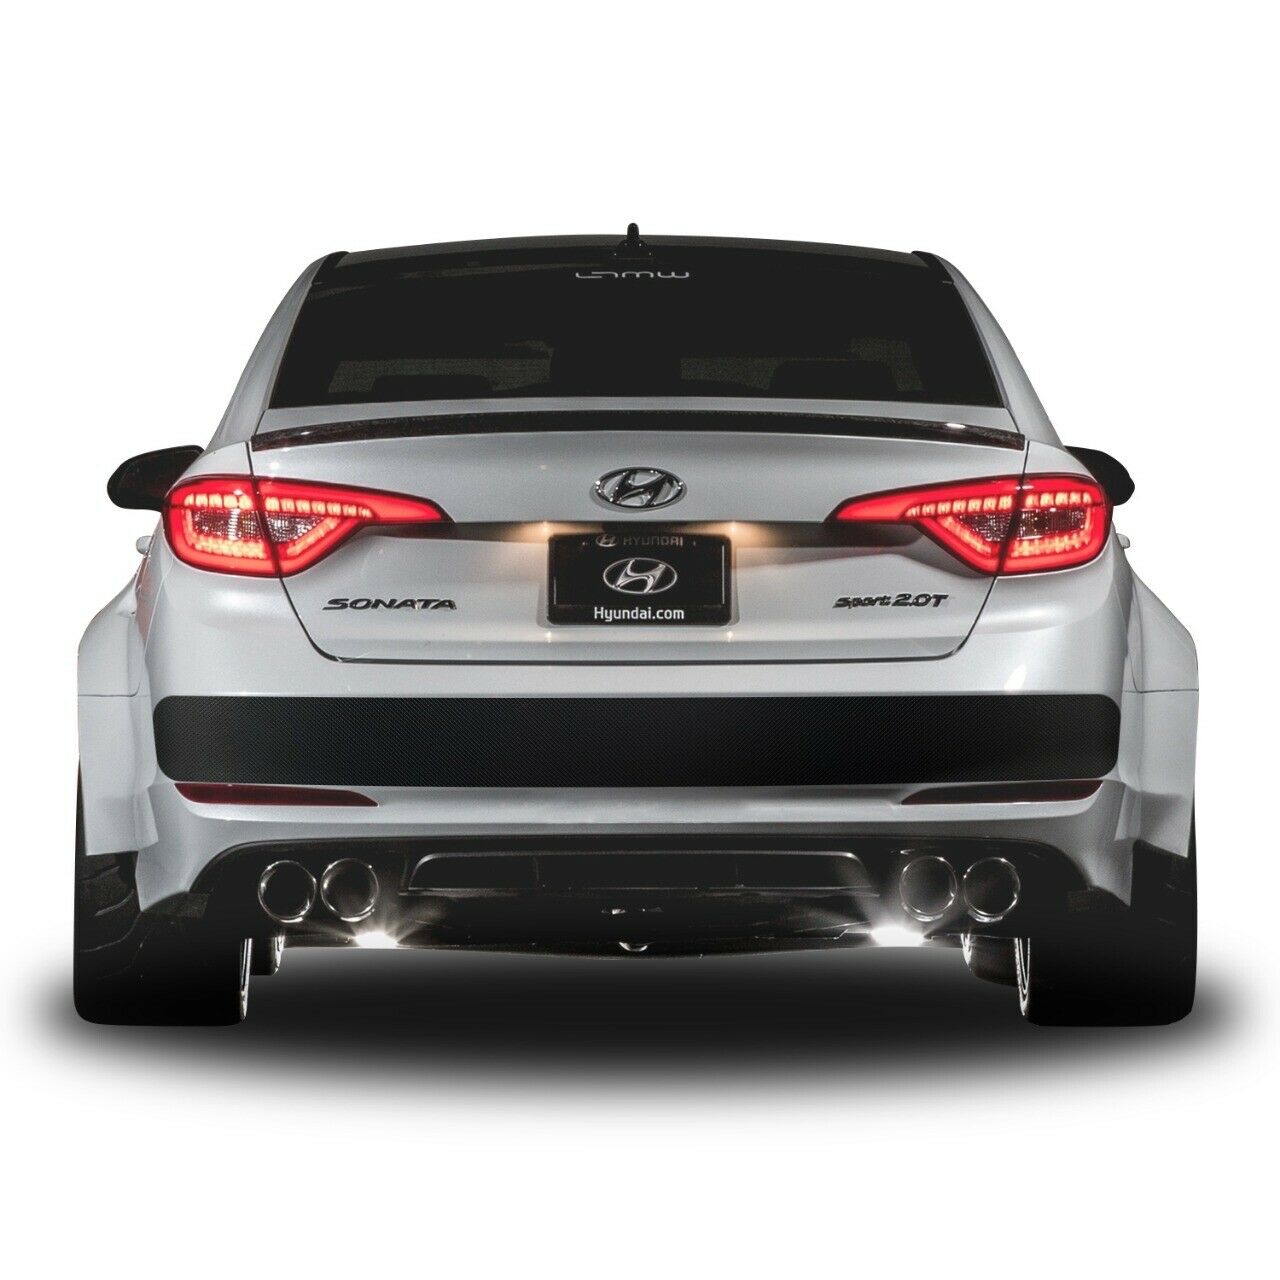
Molds to the bumper giving a factory installed look
Hides existing scratches will protecting against future damage
Invisible on dark color cars
Suitable for SUVs
Easier clean up when removed from bumper
Free Removal via Brooklyn, NY location
Superb product quality
Excellent Installation support
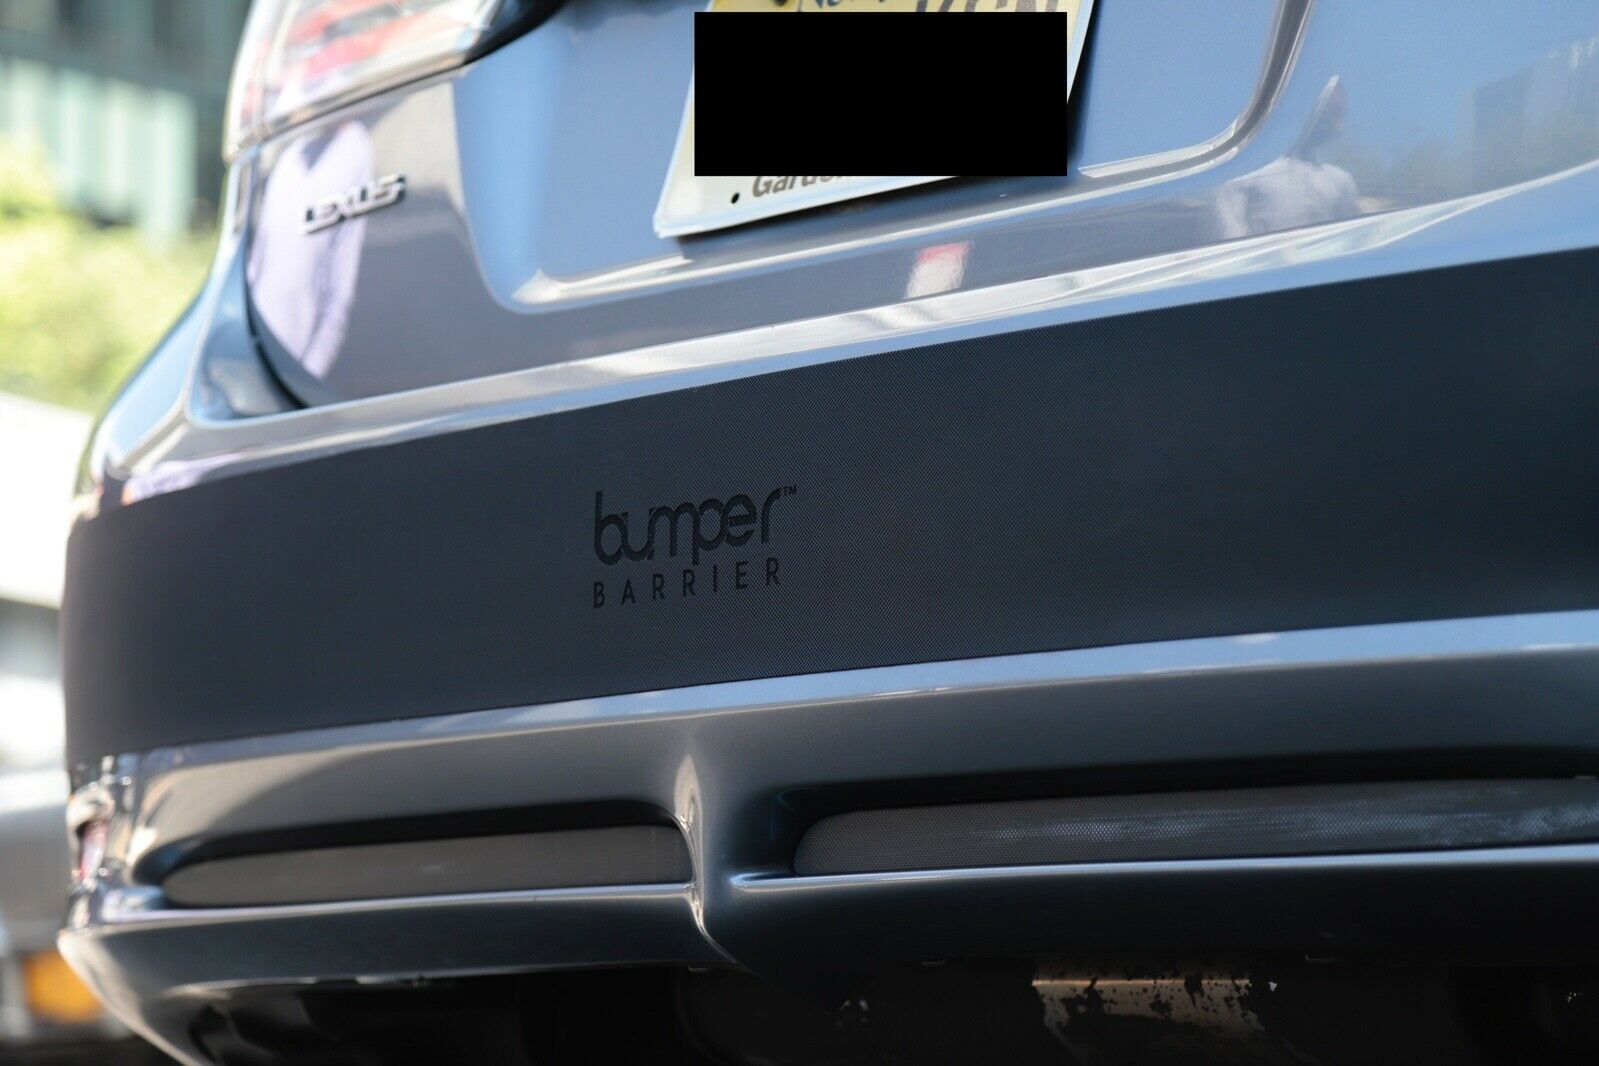
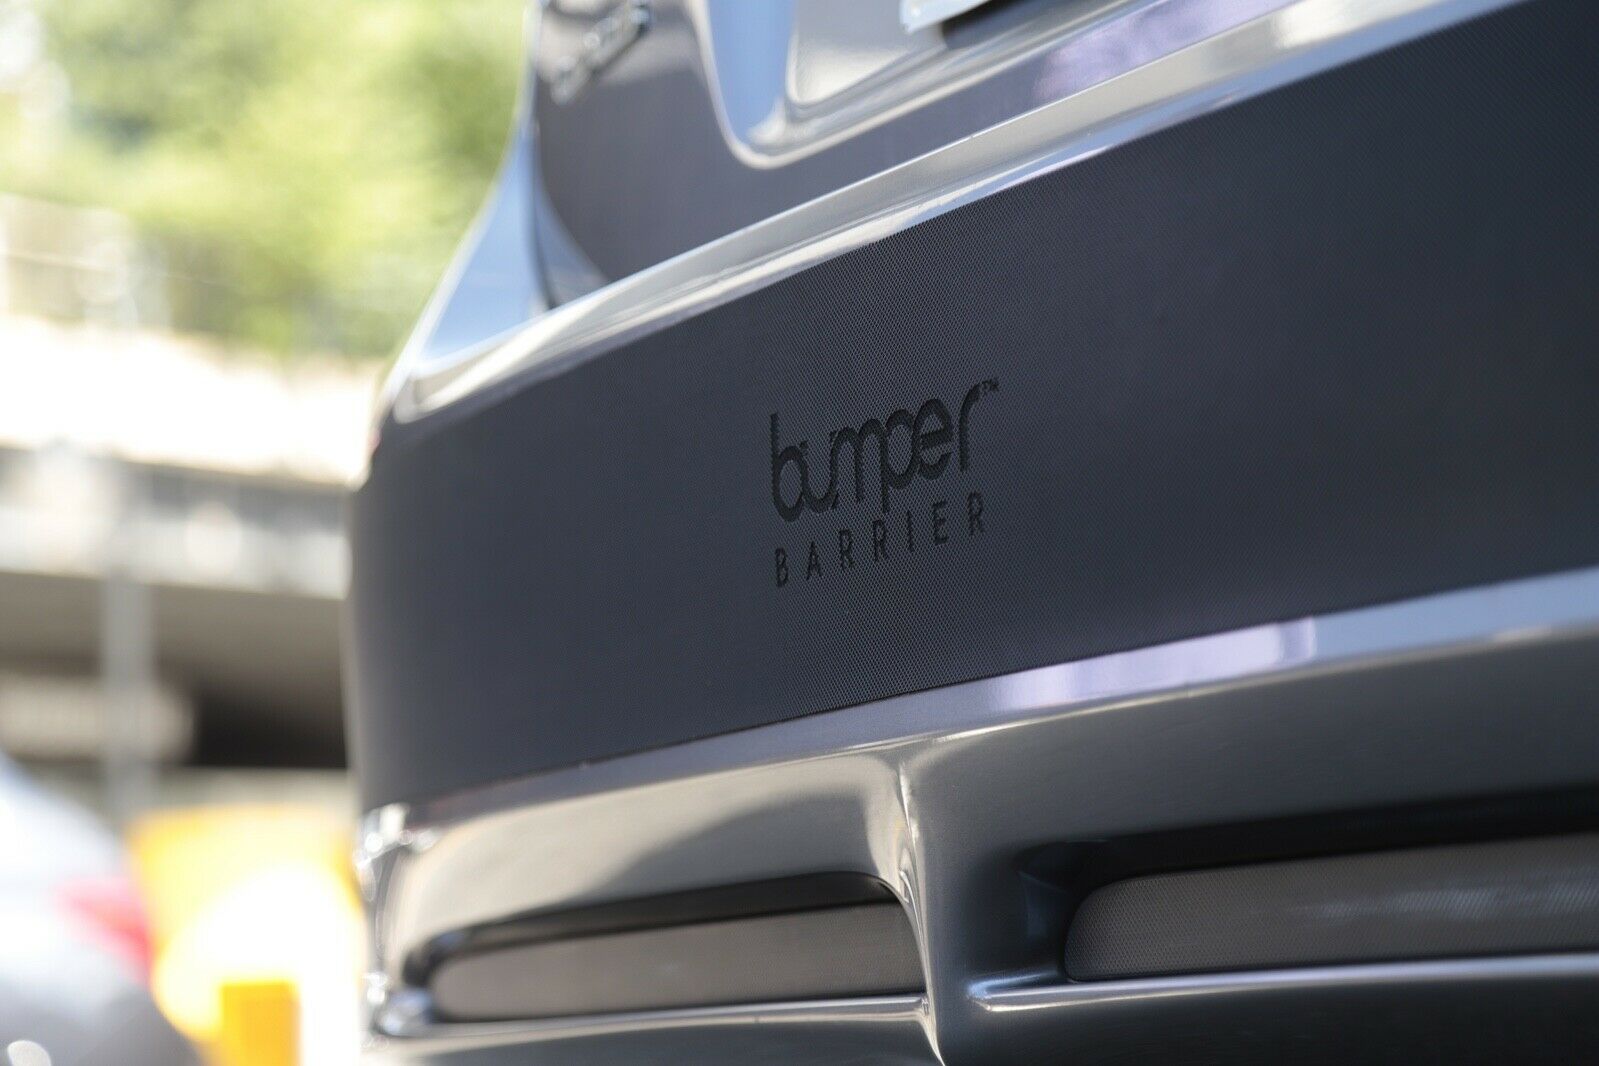
Discreet logo
Better Looking Option
Our
rear car bumper guard
is
designed to mold to your
car
bumper giving the appearance of a factory installed look.
Our bumper protector for cars
provides a simple peel-and-stick
solution
that has no straps, and no hooks just protection.
The
rear bumper protector film is
well
out-of-sight and provides peace of mind.
Furthermore, the surface of the bumper guard has a small neutral diagonal pattern that will not clash with appearance of your car.
Hides Exiting Scratches
No need to repaint your bumper when you can simply cover it up. Within minutes like magic your scratches will disappear! We offer one of the few bumper guards on the market that hides existing scratches in addition to providing rear bumper protection.
Invisible on Dark Cars
If your bumper is dark in color no-one will notice there
is a bumper
protector
pr
esent
.
The black color and
subtle
lines on the surface of the rubber bumper strip will perfectly accent most dark colored cars or bumpers with dark color trim.
High Quality Adhesive
The Genuine 3M adhesive
we use
is
so strong it enables our
peel-
a
nd-stick bumper protector
to be
removed
and later
reapplied several times.
The 3M adhesive also allows for a cleaner removal resulting in little to no glue residue when properly removed*
B
umper
G
uard
F
or
SUV
Bumper Barriers are
versatile
and even suitable for many newer model SUV’s and cars
which
have rubber plastic bumpers. Our high quality 3M adhesive will provide a reliable water-proof seal until removed.
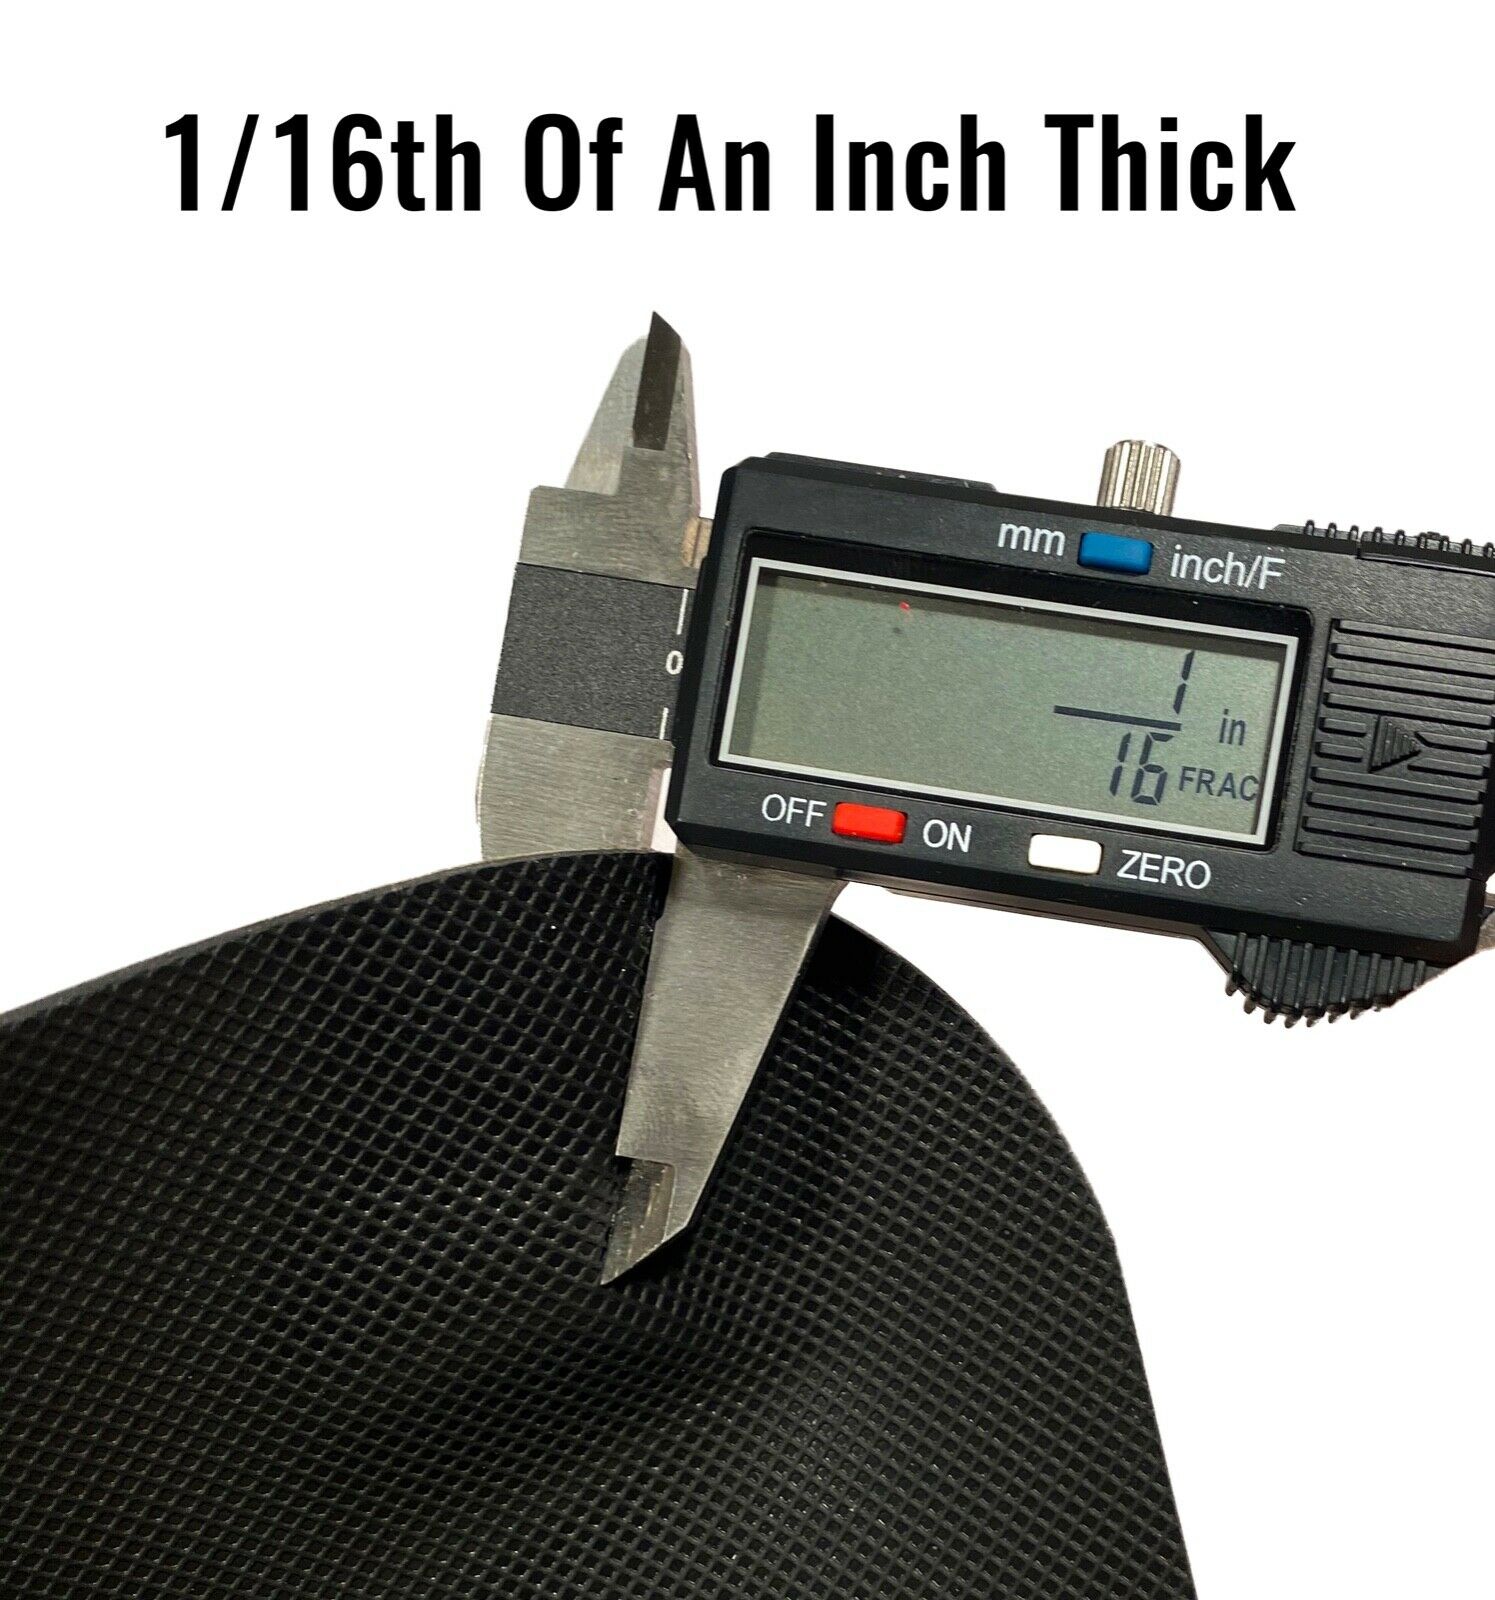
Superb Quality
Our bumper strip
is not a cheap foam.
T
he material
we use
has the same
durability and
consistency as a car tire.
Our bumper guards are
made from a EDPM/SBR compound rubber making it extremely durable and capable of holding up against the elements.
The
rubber
strip
will not quickly fade,
rip apart
or crack and will provide excellent paint protection
to your rear bumper.
Bumper guards for cars, NO STRAPS, NO HOOKS just PROTECTION!
If you are tired of suffering from the daily damage happening to your bumper make the change and purchase a Bumper Barrier today!
Virtually Indestructible
Corners Are Protected
Hides Scratches And Protects
Invisible On Dark Cars
Discreet Logo
Please send us a message to confirm vehicle compatibility
About Us
It is our mission to provide an exceptional product and buying experience to the cost conscious city dweller. Weather you are a new car owner preparing for city driving or that unfortunate person looking to hide a few bumper blemishes Bumper Barrier is here for you
unlike other bumper guard products our Bumper Barriers are designed to hide existing blemishes while protecting against future bumper damage. The unique texture, shape and car model specific designs we offer differentiates our products from the competition.
Why Bumper Barrier? Simple, we care! We strive hard to develop new and cost effective ways to help car owners preserve their bumpers and save money. Our product give city dwellers who are feeling helpless, and often times violated, ways to fight back.
The Bumper Barrier strip is not a rebranded product from Alibaba. Our X-Shell hard Rubber Bumper Barrier is comprised of a durable EPDM/SBR rubber compound. We stand by our product as our Bumper Barrier comes with a 2-year replacement warranty when properly installed.
Payment
Item will be shipped out within 24 hours after payment cleared, except for weekends and holidays. PayPal e-check takes 3-7 business days to be processed. We will not ship until an e-check has been cleared.
Shipping
We only ship to the United States. No international shipping available
VERY IMPORTANT:
Double check shipping address. We are not responsible for incorrect or undeliverable addresses.
Please use Shipping & Payments tab on top of page for shipping details for your location.
Some of the packages cannot be delivered to a PO Box. Customer is responsible to ensure PO Box address given is deliverable by the shipping company. Package will be held until a valid physical address is provided.
Returns
30 Days Free Returns, please notify us within 30 days after you've received your order.
Please email us or call us to obtain a RMA (Return Merchandise Authorization) number from us, and have the RMA number written on the return package.
Installation
Ebay Revised
Video will open in a new window
Using the mobile app? Copy this link into your browser:
Step1
Confirm the contents of your Bumper Barrier kit which should contain, 1 bumper barrier strip, alcohol wipes, 1 microfiber rag, 1 dry erase marker, and 60" measuring tape .
Step2
Wash your car to insure your bumper is clean from dirt and loose debris
Step3
Using the alcohol wipes and microfiber rag quickly spot clean your bumper to insure all dried wax or grime is removed.
Step4
Locate the center of your bumper by using your license plate, or the trunk latch as a reference point. (You may also use the measuring tape to aid you in this step ). Using the dry erase marker, mark the center of your bumper
Step5
Unroll your bumper strip and locate the white center tape. On the other side of the strip gently peel pack approximately 3 inches of adhesive backing from each side of the center seam.
Step6
Using both hands hold the bumper strip and align the center tape with center mark you created in step 4. apply pressure to the Bumper Strip so that it will become anchored on the bumper. If necessary you may reposition the bumper protection strip until it is aligned to your satisfaction
Step7
Peel approximately 3 inches from the edge of one side of the strip then extend the strip to the edge of the bumper and attach. Repeat this step for the opposite side as well.
Step8
Stand back to observe and confirm your protection strip is aligned with the bumper as desired. You may also use the measuring tape to confirm alignment. Reposition the strip until you are satisfied with the alignment.
Step9
Then using your dry erase marker trace around the bumper strip so that you can preserve the bumper strip positioning.
Step10
Detach the protection strip from one side. Then from the center seam start peeling off the remaining adhesive backing in 12 - 24 inch sections while applying pressure so that it properly adheres to the bumper. You should use the markings from the dry-erase marker as a guide while you apply the protection strip to the bumper.
Certain bumpers may be pitched causing the strip to lay angled up or down once wrapped around the corner. If this happens gently pull on the strip from the corner of the bumper and reposition the strip in the direction you desire. The adhesive will keep the strip in place resulting in a leveled factory installed look
Repeat this step for the opposite side as well .
And There you have it! The install process typically takes less than 10 minutes to complete
Disclamer We strongly recommend that you only install the bumper barrier protection strip when ambient temperatures are at least 60 degrees . Attempting to install Bumper Barriers in colder temperatures may result in adhesion failure (unless you use a heating element such as blow dryer, etc).
Bumper Barrier Protection strip utilizes a 3M pressure sensitive adhesive which require pressure to be applied to each section during installation to insure a durable , bubble-free, waterproof seal to the bumper.
Feedback
Contact Us
Useful Links
Store Home
Add to Favorites
Feedbacks
Contact Us
Newsletter
Click here to subscribe our newsletterand get all the latest news, updates andspecial offers about our store.
Subscribe Now
Payment Options
© Copyright 2020
Bumper Barrier
All rights reserved.
